
Hard water can wreak havoc on your home appliances. From dishwashers to washing machines, the minerals in hard water—primarily calcium and magnesium—can build up over time, reducing efficiency and causing premature wear and tear. Fortunately, there are steps you can take to mitigate this damage and extend the life of your appliances. Here’s how hard water affects your household equipment and tips to avoid costly repairs.
How Does Hard Water Affect Your Appliances?
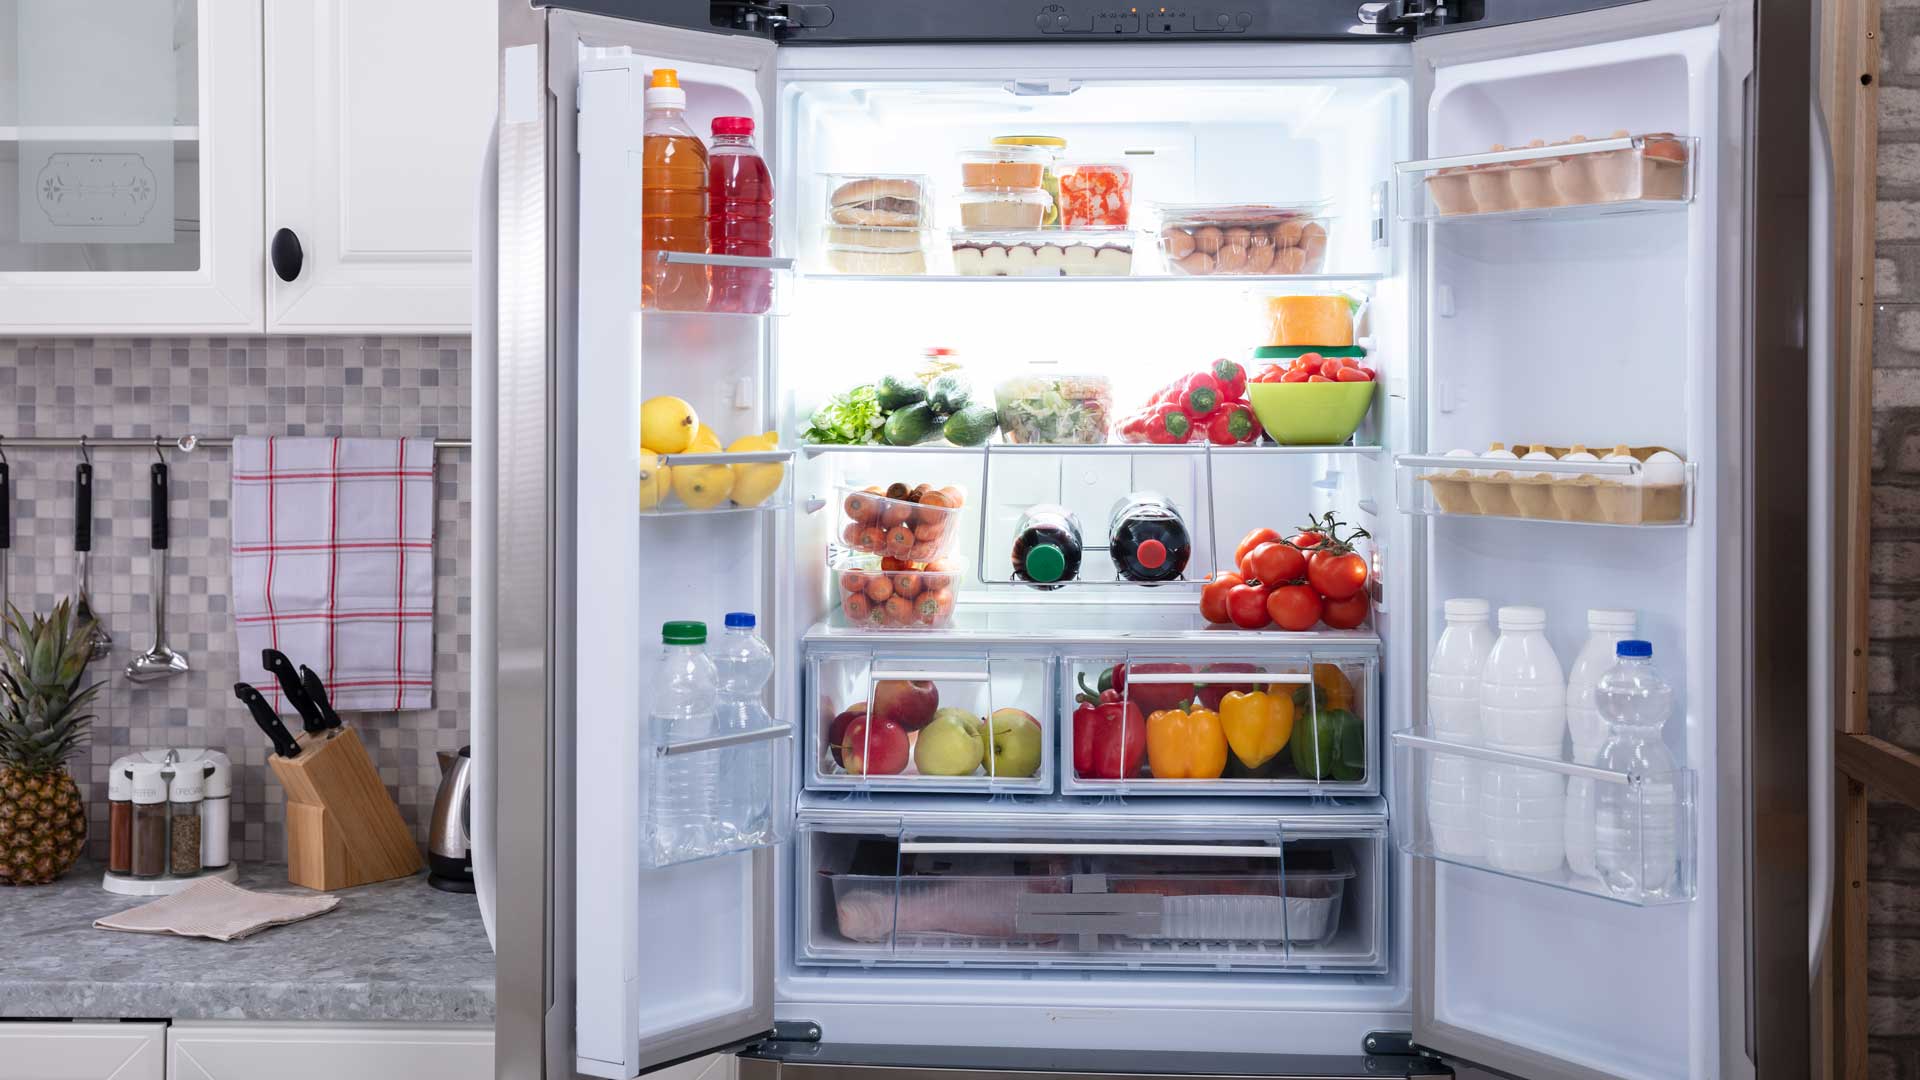
- Clogs and Build-Up: Hard water leaves behind mineral deposits, also known as scale, in your appliances. This can cause clogs in pipes, filters, and valves, affecting the flow of water and reducing the efficiency of your appliances. Your dishwasher, washing machine, and even your water heater are particularly vulnerable to this type of damage.
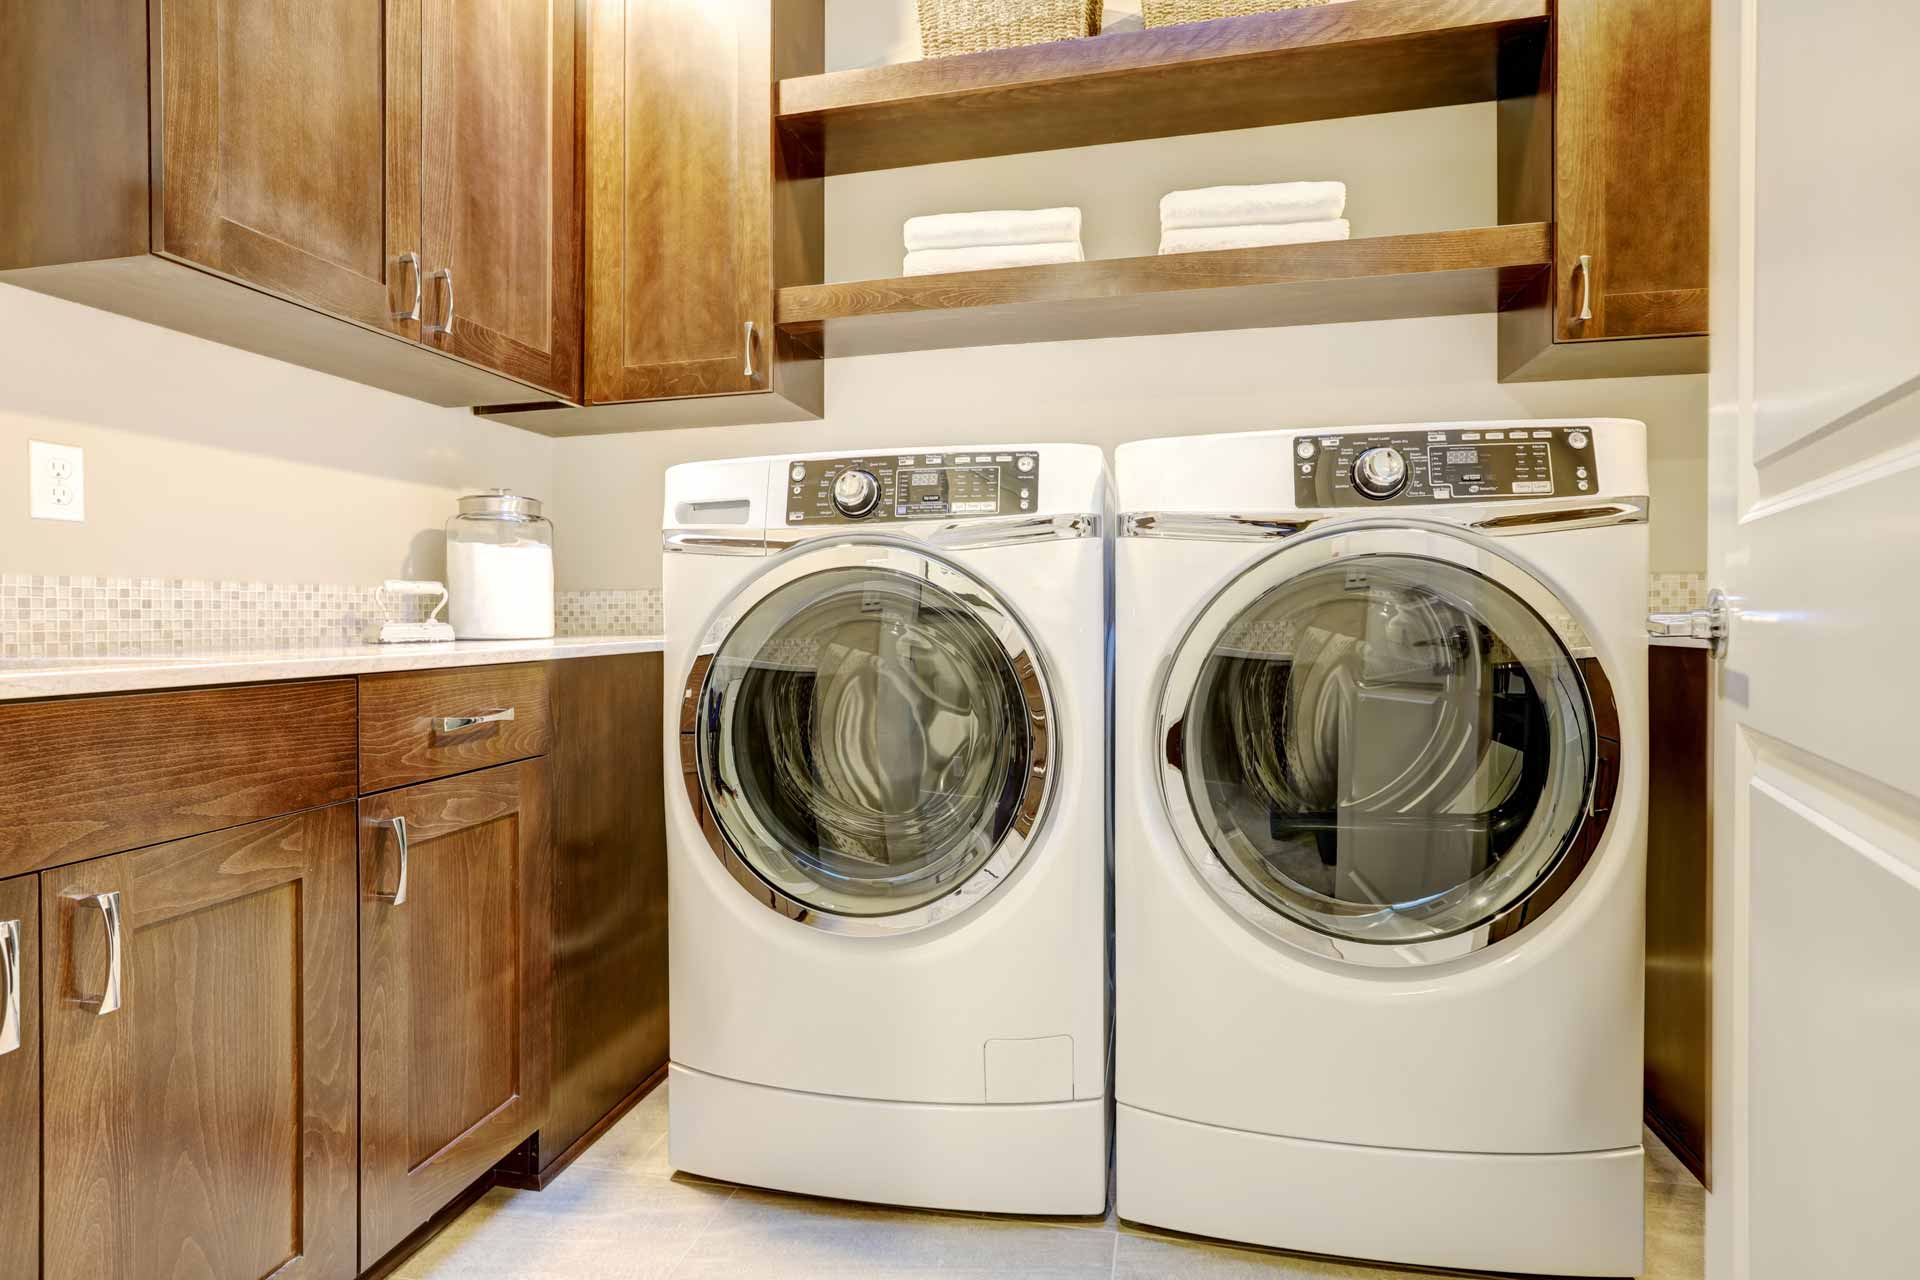
- Reduced Efficiency: The build-up of limescale can force your appliances to work harder. A washing machine with scale build-up, for instance, has to use more energy to heat water and clean your clothes properly. This not only increases energy bills but also shortens the lifespan of the appliance.
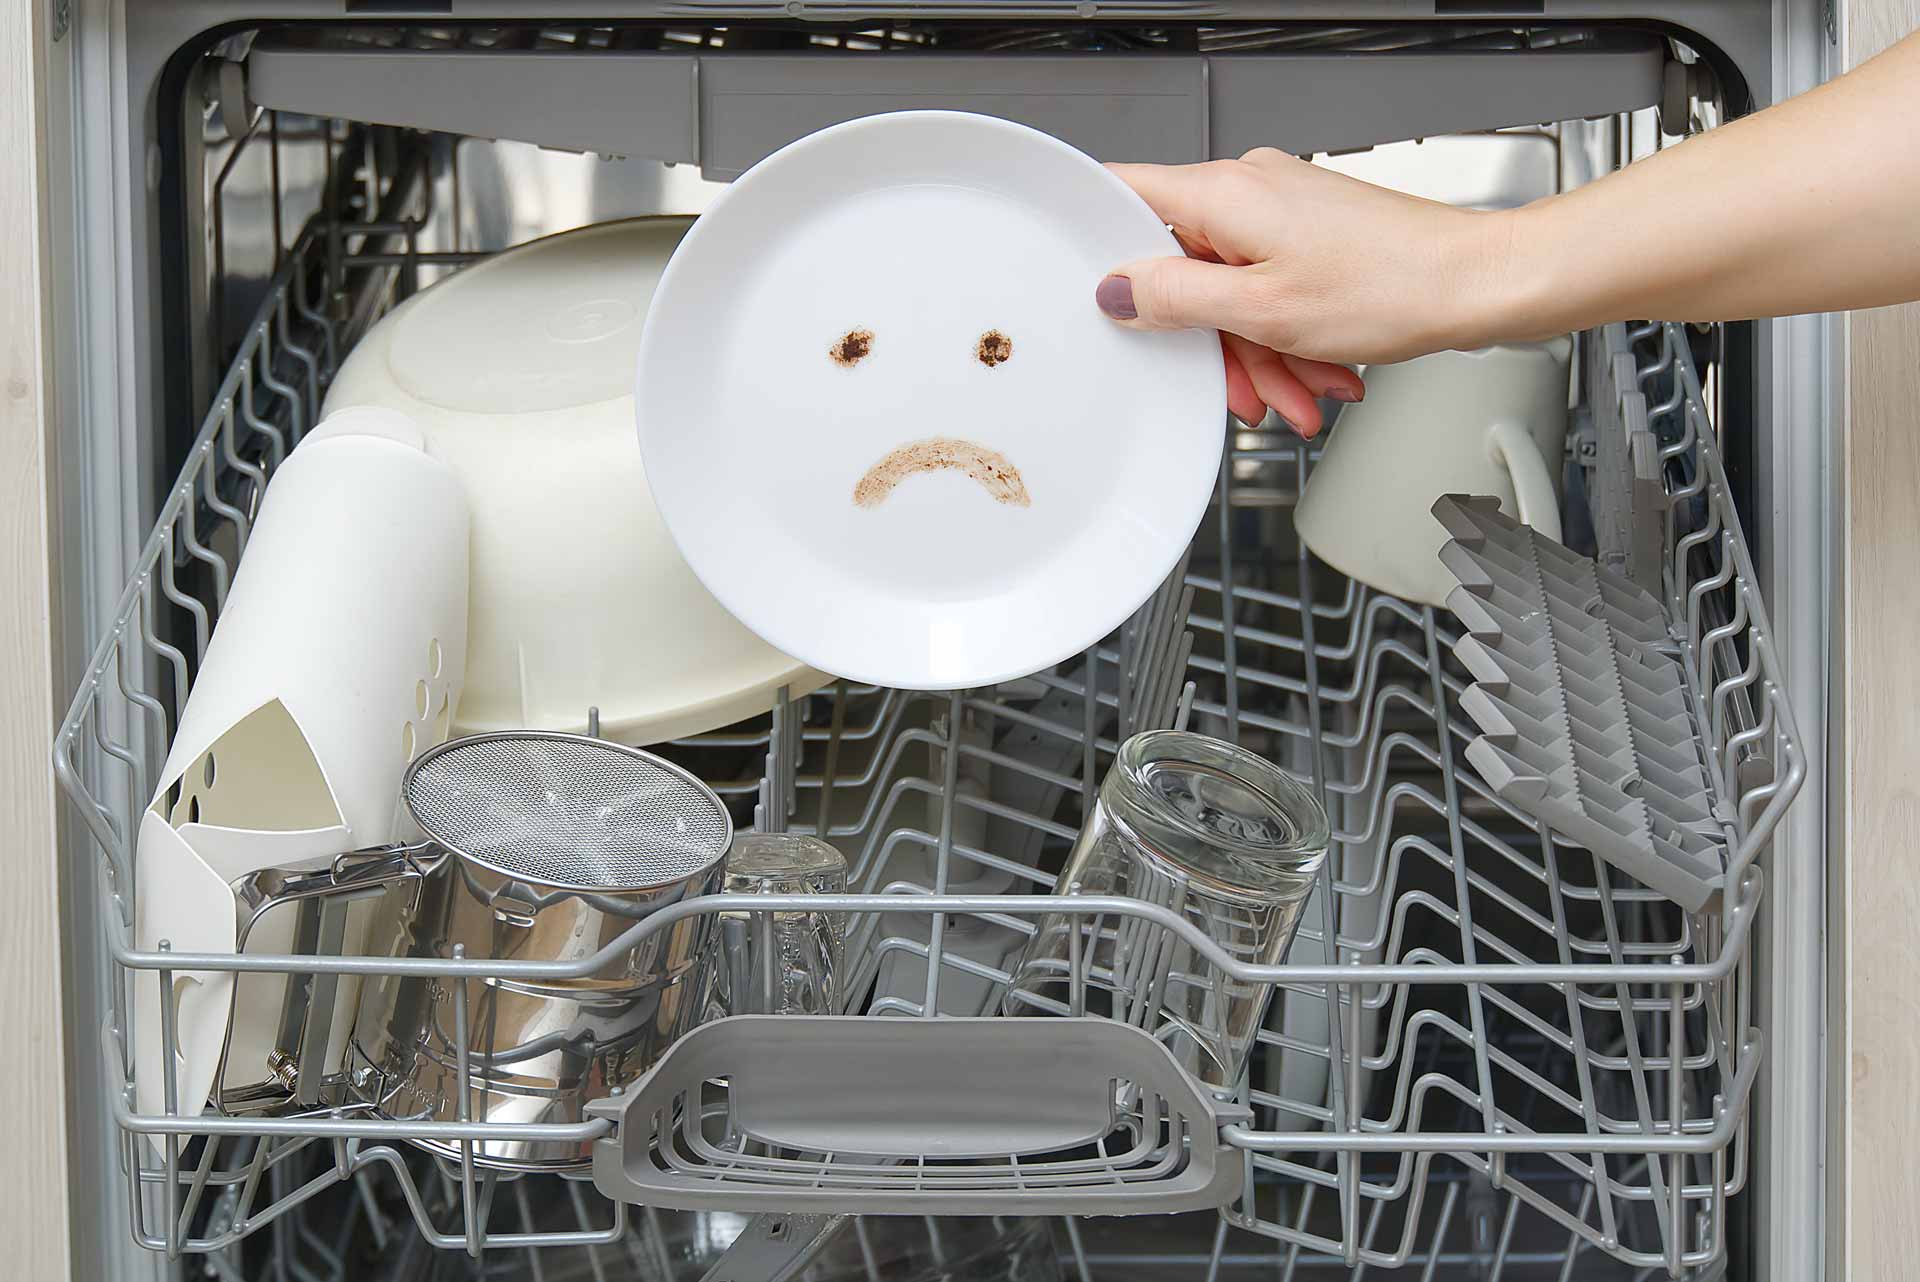
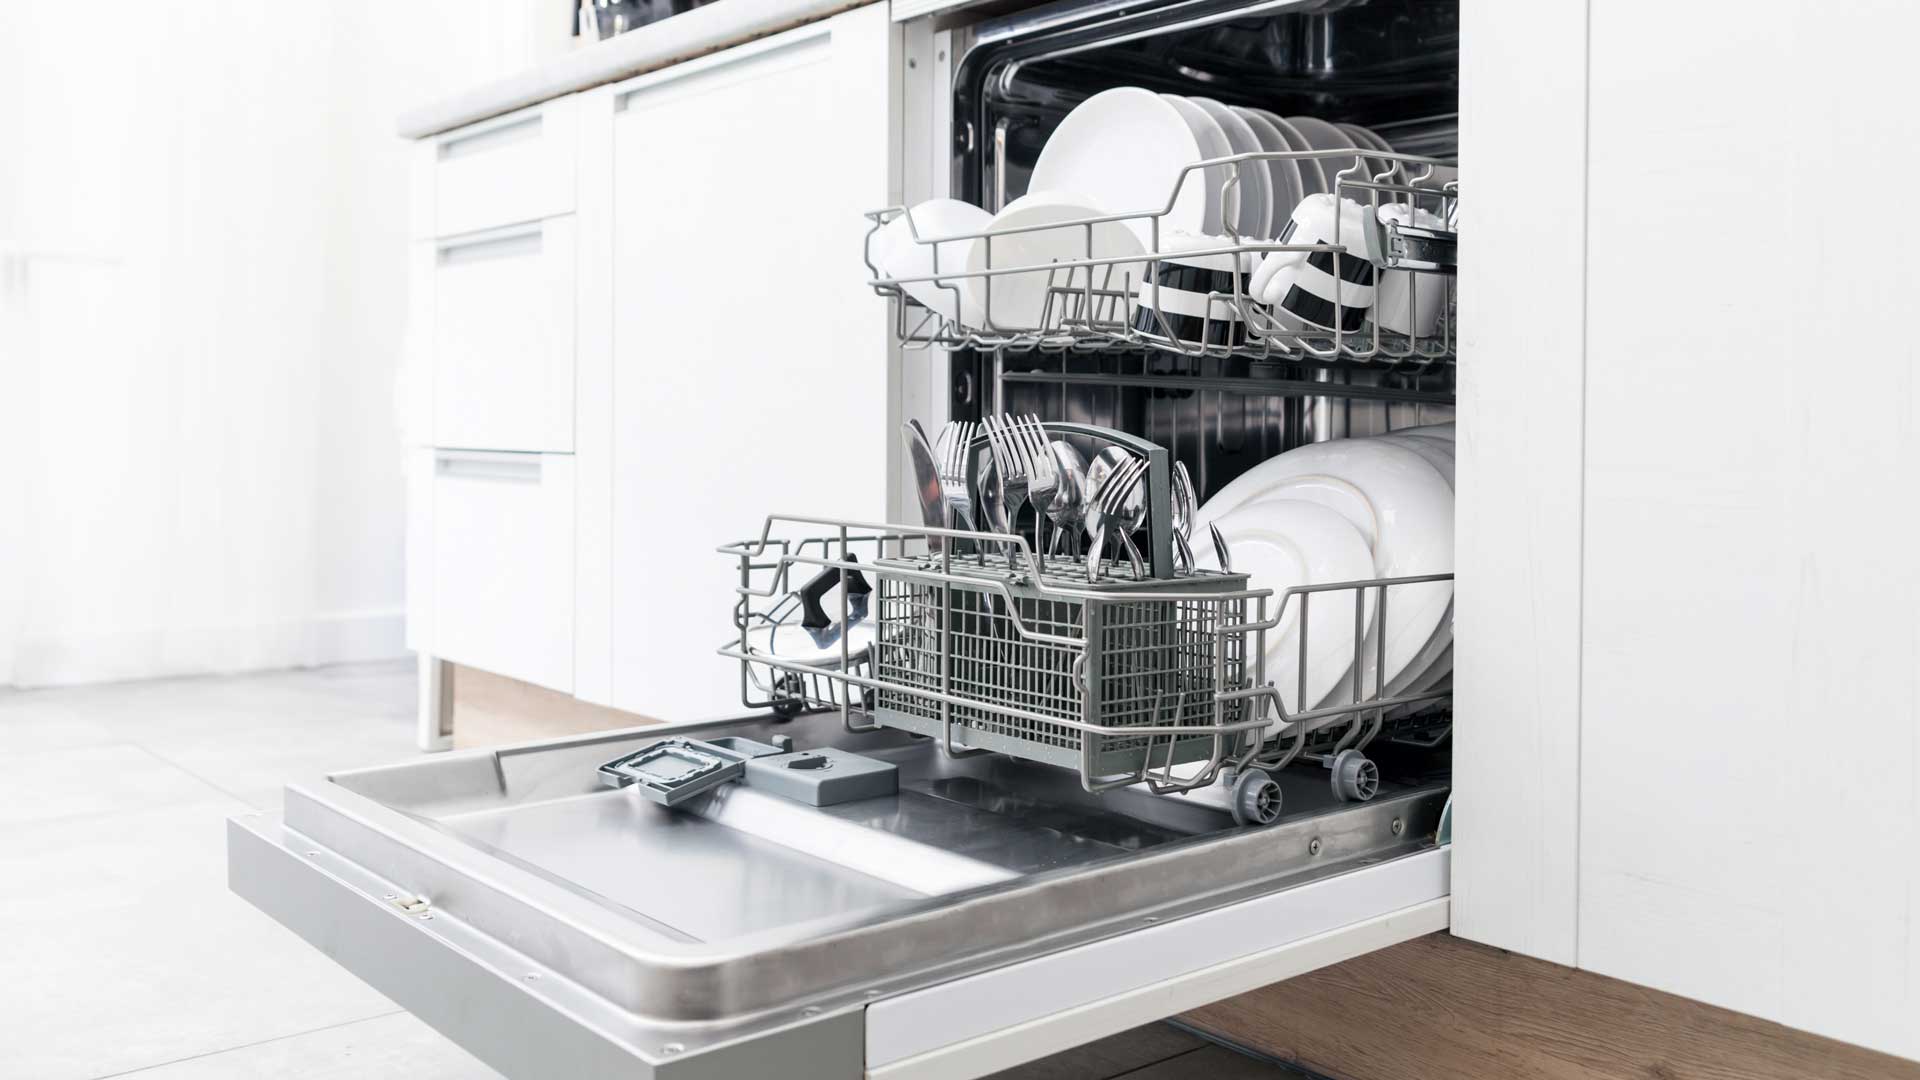
- Poor Performance: Hard water makes detergents and soaps less effective, leading to poor cleaning results. Dishes may come out of the dishwasher with spots, and clothes may feel rough and look dull after being washed. Over time, this can wear out fabrics and diminish the appearance of your dishes and glassware.
Tips to Prevent Hard Water Damage in Your Appliances
- Use a Water Softener: The best long-term solution to hard water is installing a water softener. Water softeners remove the minerals that cause scale build-up, helping to protect your appliances from clogs and damage. This can save you money on repairs and energy bills in the long run.
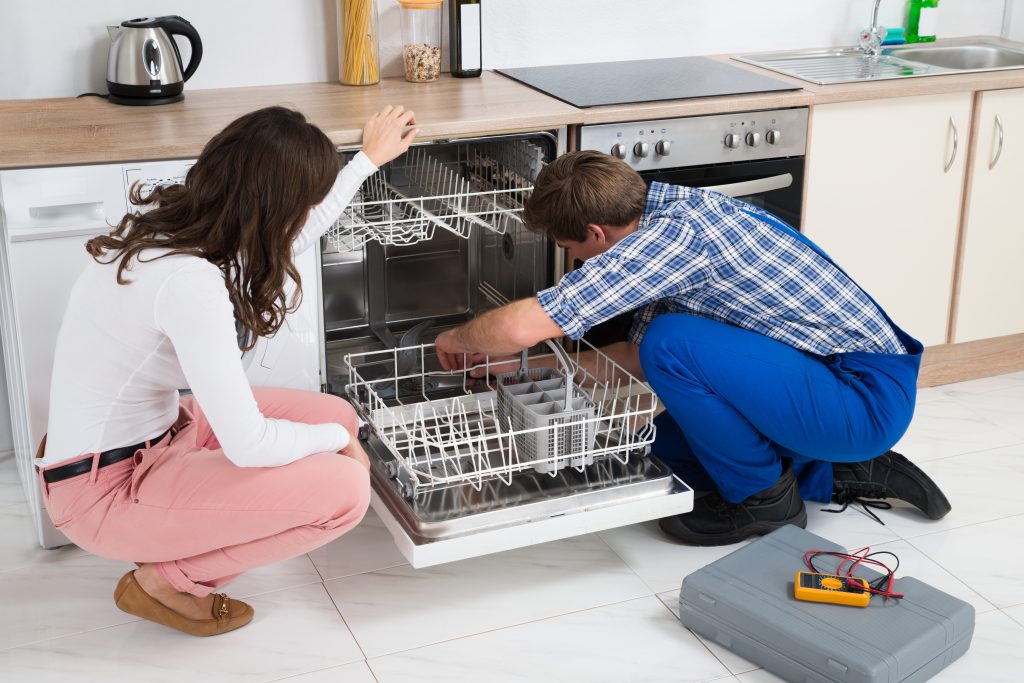
- Clean Your Appliances Regularly: Regular cleaning can help reduce mineral build-up. For dishwashers, run a cleaning cycle with vinegar or a commercial dishwasher cleaner every month. Similarly, for washing machines, using a washing machine cleaner or running an empty hot water cycle with vinegar can help flush out mineral deposits.
- Descale Your Water Heater: Your water heater is particularly vulnerable to hard water damage. To prevent scale build-up, you should have it descaled regularly by a professional or flush it according to the manufacturer’s recommendations. This can improve efficiency and prolong the life of the heater.
- Use Hard Water Detergents: There are detergents and soaps formulated to work better with hard water. These products help prevent scale build-up in your dishwasher and washing machine while improving cleaning results.
Conclusion
Hard water can significantly reduce the lifespan and efficiency of your home appliances, but with the right preventative measures, you can protect your investment. Whether it’s installing a water softener or regularly descaling your appliances, these steps will help keep your household running smoothly.